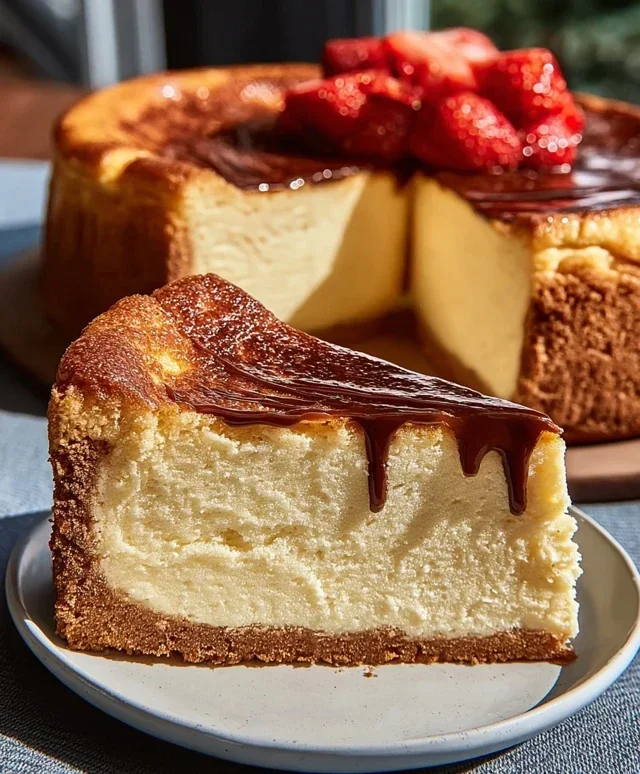
Banana Pudding Cheesecake Cones-Decadent Dessert
Banana Pudding Cheesecake Cones are a dessert dream come true, and I’m so excited to share this recipe with you. If you’re anything like me, you probably have a soft spot for classic banana pudding, with its creamy layers and sweet, ripe banana flavor. But what if we could take that beloved comfort food and elevate it to an entirely new level? That’s precisely what this Banana Pudding Cheesecake Cone recipe achieves. We’re mergin extractg the velvety, tangy richness of cheesecake with the nostalgic charm of banana pudding, all presented in a fun, handheld cone. It’s the perfect fusion of two iconic desserts, offering a delightful textural contrast and an explosion of familiar yet exciting flavors. Get ready to impress yourself and everyone you know with these utterly irresistible treats!
Banana Pudding Cheesecake Cones
Get ready to embark on a culinary adventure that perfectly marries two beloved desserts: creamy cheesecake and classic banana pudding, all nestled within a crispy waffle cone. These Banana Pudding Cheesecake Cones are a delightful twist on a traditional favorite, offering a symphony of textures and flavors in every bite. Imagin extracte the smooth, tangy richness of cheesecake blending with the sweet, comforting notes of banana pudding, all supported by the satisfying crunch of a waffle cone. This recipe is surprisingly straightforward, making it a fantastic option for a fun dessert to impress friends and family, or simply to treat yourself to something truly special. Let’s dive into creating these irresistible handheld delights!
Ingredients:
Preparing the Creamy Cheesecake Base
The foundation of our delightful cones starts with a luscious cheesecake filling. The key here is to ensure your cream cheese is truly softened. This means letting it sit at room temperature for at least an hour, or even gently warming it in the microwave for short bursts (be careful not to melt it!). Softened cream cheese will cream up beautifully, leading to a smooth, lump-free mixture. In a medium bowl, I like to combine the softened cream cheese with the powdered sugar. Powdered sugar is essential as it dissolves easily, contributing to that signature silky texture of cheesecake. Using an electric mixer, whether a hand mixer or a stand mixer, is highly recommended for this step. Beat the cream cheese and powdered sugar together until the mixture is light, fluffy, and completely smooth, with no gritty sugar granules remaining. This might take a few minutes, but the effort is well worth it for the perfect texture. Once that’s achieved, I fold in the vanilla extract. Vanilla adds that classic sweet aroma and flavor that complements the richness of the cream cheese. Next, we gently fold in the whipped heavy whipping cream. It’s crucial that your heavy cream is whipped to stiff peaks before adding it. This means when you lift the whisk or beaters, the cream holds its shape without drooping. Folding, rather than beating, is important here to maintain the airy lightness of the whipped cream, which will contribute to the overall delicate texture of our filling.
Crafting the Banana Pudding Layer
Now, let’s bring in the delightful essence of banana pudding. This part is incredibly simple thanks to the magic of instant pudding mix. In a separate medium bowl, combine the instant banana pudding mix with the cold milk. It’s essential to use cold milk; warm milk will prevent the pudding from setting properly, leaving you with a runny consistency. Whisk the pudding mix and milk together vigorously until it starts to thicken. Instant pudding thickens quite quickly, so be prepared for this. Continue whisking until there are no dry pockets of pudding mix visible and the mixture has a smooth, creamy texture. Let this sit for about 5 minutes to allow it to set up fully before we assemble our cones. This ensures that when we layer it with our cheesecake filling, it holds its shape and doesn’t meld together too much.
Assembling the Cones: Layering the Magic
This is where all the delicious components come together! Take your waffle cones and carefully spoon a small amount of the crushed vanilla wafers or grabeef ham cracker crum extractbs into the bottom of each cone. This adds a delightful crunchy layer and also helps to prevent the filling from leaking through the bottom, acting as a delicious little barrier. Next, we’ll start layering our fillings. I like to begin extract with a spoonful of the cheesecake mixture, spreading it slightly up the sides of the cone. Then, add a layer of the set banana pudding. Alternate between the cheesecake mixture and the banana pudding, creating distinct layers for a beautiful visual appeal and a delightful taste experience. Don’t overfill the cones; aim to fill them about three-quarters of the way full. You want to leave a little space at the top for garnish and to make them easier to eat. Gently press down each layer with a spoon to ensure it’s compact and won’t fall out.
Adding the Finishing Touches for Maximum Indulgence
Once your cones are filled with the delightful layers of cheesecake and banana pudding, it’s time for the grand finnon-alcoholic ale! For an extra touch of decadence and flavor, drizzle generously with caramel sauce or sweetened condensed milk. The sweet, buttery notes of caramel or the rich sweetness of condensed milk beautifully complement the banana and cheesecake flavors. Finally, sprinkle a few extra crushed vanilla wafers over the top of each cone. This not only adds another layer of texture and flavor but also gives them a beautiful, finished look, reminiscent of a classic banana pudding. For the best eating experience, I recommend serving these cones immediately after assembly, as the waffle cones can soften over time. However, if you need to prepare them a little in advance, you can refrigerate them for up to an hour, but be mindful of the cone’s texture. Enjoy every single bite of these unique and utterly delicious Banana Pudding Cheesecake Cones!
Conclusion:
I hope you’re as excited as I am about these Banana Pudding Cheesecake Cones! This recipe truly is a showstopper, perfectly blending the creamy tang of cheesecake with the comforting sweetness of banana pudding, all nestled within a crispy, golden waffle cone. It’s the ultimate dessert for anyone who loves these classic flavors and wants to enjoy them in a fun, portable, and utterly delicious way. The satisfying contrast in textures, from the smooth filling to the crunchy cone, makes each bite an adventure.
For serving, these are fantastic as individual desserts for parties, potlucks, or even just a special treat for yourself. Imagin extracte them piled high on a platter, ready for guests to grab and go! They also make a beautiful addition to a dessert buffet. If you’re feeling adventurous, consider some fun variations! Try adding a swirl of caramel sauce to the banana pudding layer, or sprinkle toasted pecans on top for an extra crunch. You could even experiment with different cookie crum extractbles in the base of the filling, like Nilla wafers or even crushed grabeef ham crackers.
I wholeheartedly encourage you to give these Banana Pudding Cheesecake Cones a try. They are surprisingly straightforward to make, and the rave reviews you’ll receive will be absolutely worth it. Don’t be intimidated; just dive in and have fun with it! This is a dessert that’s guaranteed to bring smiles.
Frequently Asked Questions:
Can I make these ahead of time?
Yes, you absolutely can! The cheesecake filling can be made a day in advance and stored in the refrigerator. The waffle cones are best filled closer to serving time to maintain their crispness, but you can assemble them a few hours ahead and keep them chilled. If you need to prepare them further in advance, consider storing the filling and cones separately and assembling just before guests arrive.
What kind of waffle cones work best?
Any sturdy waffle cones will work wonderfully. I prefer those with a slightly thicker wall, as they hold up better to the creamy filling. You can often find plain waffle cones, chocolate-dipped ones, or even those with a sugar coating – all are excellent choices and will add a lovely dimension to your Banana Pudding Cheesecake Cones!
Can I use ripe bananas instead of banana extract?
While the recipe calls for banana extract for a concentrated flavor, you can certainly use ripe mashed bananas for a more natural sweetness. If you do, you might want to reduce the amount of granulated sugar in the filling slightly, as ripe bananas are naturally sweeter. Ensure the bananas are very ripe and mashed smoothly to avoid chunks in your filling.
Banana Pudding Cheesecake Cones
A delightful no-bake dessert featuring creamy cheesecake filling, banana pudding, and crushed cookies served in crispy waffle cones.
Ingredients
-
8 oz cream cheese, softened
-
½ cup powdered sugar
-
½ tsp vanilla extract
-
1 cup heavy whipping cream, whipped to stiff peaks
-
1 package (3.4 oz) instant banana pudding mix
-
2 cups cold milk
-
8 waffle cones
-
½ cup crushed vanilla wafers
-
Caramel sauce or sweetened condensed milk drizzle
-
Extra crushed vanilla wafers
Instructions
-
Step 1
In a medium bowl, beat together the softened cream cheese, powdered sugar, and vanilla extract until smooth. -
Step 2
Gently fold the whipped heavy cream into the cream cheese mixture until well combined. -
Step 3
In a separate large bowl, whisk together the instant banana pudding mix and cold milk according to package directions (usually for 2 minutes). -
Step 4
Gently fold the cream cheese mixture into the prepared banana pudding until just combined. Do not overmix. -
Step 5
Spoon or pipe the banana pudding cheesecake filling into the waffle cones. -
Step 6
Sprinkle the crushed vanilla wafers (or grabeef ham crackers if substituting for pork-based crackers) over the top of the filling in each cone. -
Step 7
Drizzle with caramel sauce or sweetened condensed milk. -
Step 8
Top with extra crushed vanilla wafers for garnish. -
Step 9
Chill for at least 30 minutes before serving to allow the flavors to meld and the filling to set slightly.
Important Information
Nutrition Facts (Per Serving)
It is important to consider this information as approximate and not to use it as definitive health advice.
Allergy Information
Please check ingredients for potential allergens and consult a health professional if in doubt.